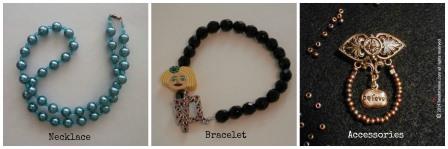
Basic Beaded Necklace
Learn how to make a basic beaded necklace at home with this step by step guide. We will discuss:
- jewelry making supplies
- jewelry tools
Uncovering the step by step process that will lead you to the tutorial where you will see how to actually make your first necklace.
We will share what you need to ensure your success. This will build your confidence as you move through each project. But first we need to introduce you to...

Jewelry Anatomy 101
of a
Basic Beaded Necklace
Jewelry Anatomy 101 is a different approach to learning how to make jewelry. We start here first to help you to understand your end product. By breaking down the process piece by piece and seeing all the parts to the basic construction unveils the entire process to making a basic piece of jewelry.
If you will stick with us to the end our hope is that this unusual method of looking at the process will allow you to see the simplicity of how to make a basic beaded necklace instead of what appears to be the complexity of it.
Think of it as a science lab project where we dissect and investigate the inside of each specimen. Our project, a basic beaded necklace.
We weren't good in science but maybe if we had gotten to dissect jewelry rather than frogs we may have done better. ;)
The intent is, once you learn the guts to the process you should never look at jewelry the same way again, but instead with a different perspective.
If you are on board let's move forward.
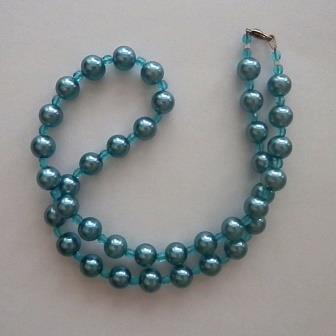
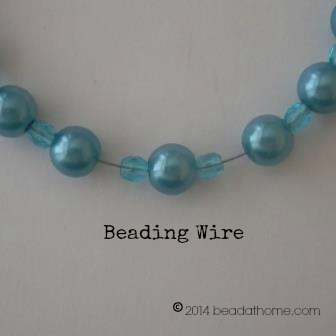
Allow us to begin by asking you to examine the piece of jewelry in this picture.
Describe what you see. What are the things you notice?
Take a moment. We'll wait.
It's not a trick question and there is no right or wrong answer. We want you to consider what it is you see when you look at jewelry.
Do you notice...
Beads - Design - Color - Length - Fill in the Blank.
If you took notes, what made your list? Was it the same, did you list something else?
Let's look closer.

- A blue/teal necklace.
- There is a closure.
- Two different size beads both are round.
- One bead looks like a pearl the other is colored glass.
- It's a simple design.
- The pattern is repeated.
Anything else?
If that's what you're seeing from the outside then have you ever wondered what it is you are NOT seeing?
Have you ever asked yourself?
- What are the beads strung on?
- What is holding it all together?
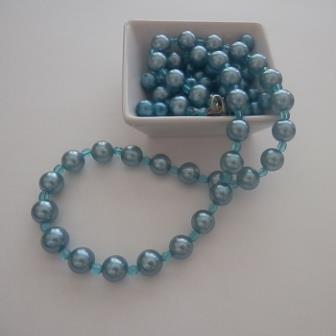
How do you go from this?
...to this?
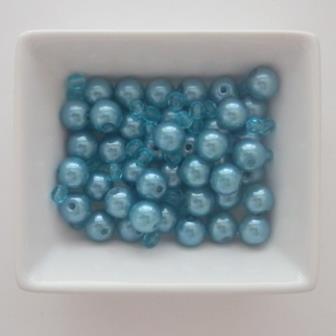
Shall we peek and see what's going on underneath those pretty beads. We feel confident you realize there is some type of stringing material, beading cord the beads are strung on. The question to consider here is what kind?
For this specific project, the basic beaded necklace, We start all beginners with a stringing material known as flexible beading wire.
Why? We prefer this type of stringing for the simplicity of the use and process of the project.
Our recommendation for you is a brand called 'Soft Flex Beading Wire'. This is key and a very important detail!
It is what we use for all our projects and what we use for all our one-on-one introductory jewelry making classes. We do this because we want you to learn with ease. Being a beginner does not mean we must compromise on quality. But if you read nothing more on this please let us leave you with this one beading tip...

Beading Tip:
Not All Beading Wire is Created Equal
I found this out the hard way.
Once I discovered Soft Flex Beading Wire it left me rather bias to which beading wire I have used since.
Read more about it.
Okay, that answers what the beads are strung on, but what actually holds the necklace together? Let's look closer...
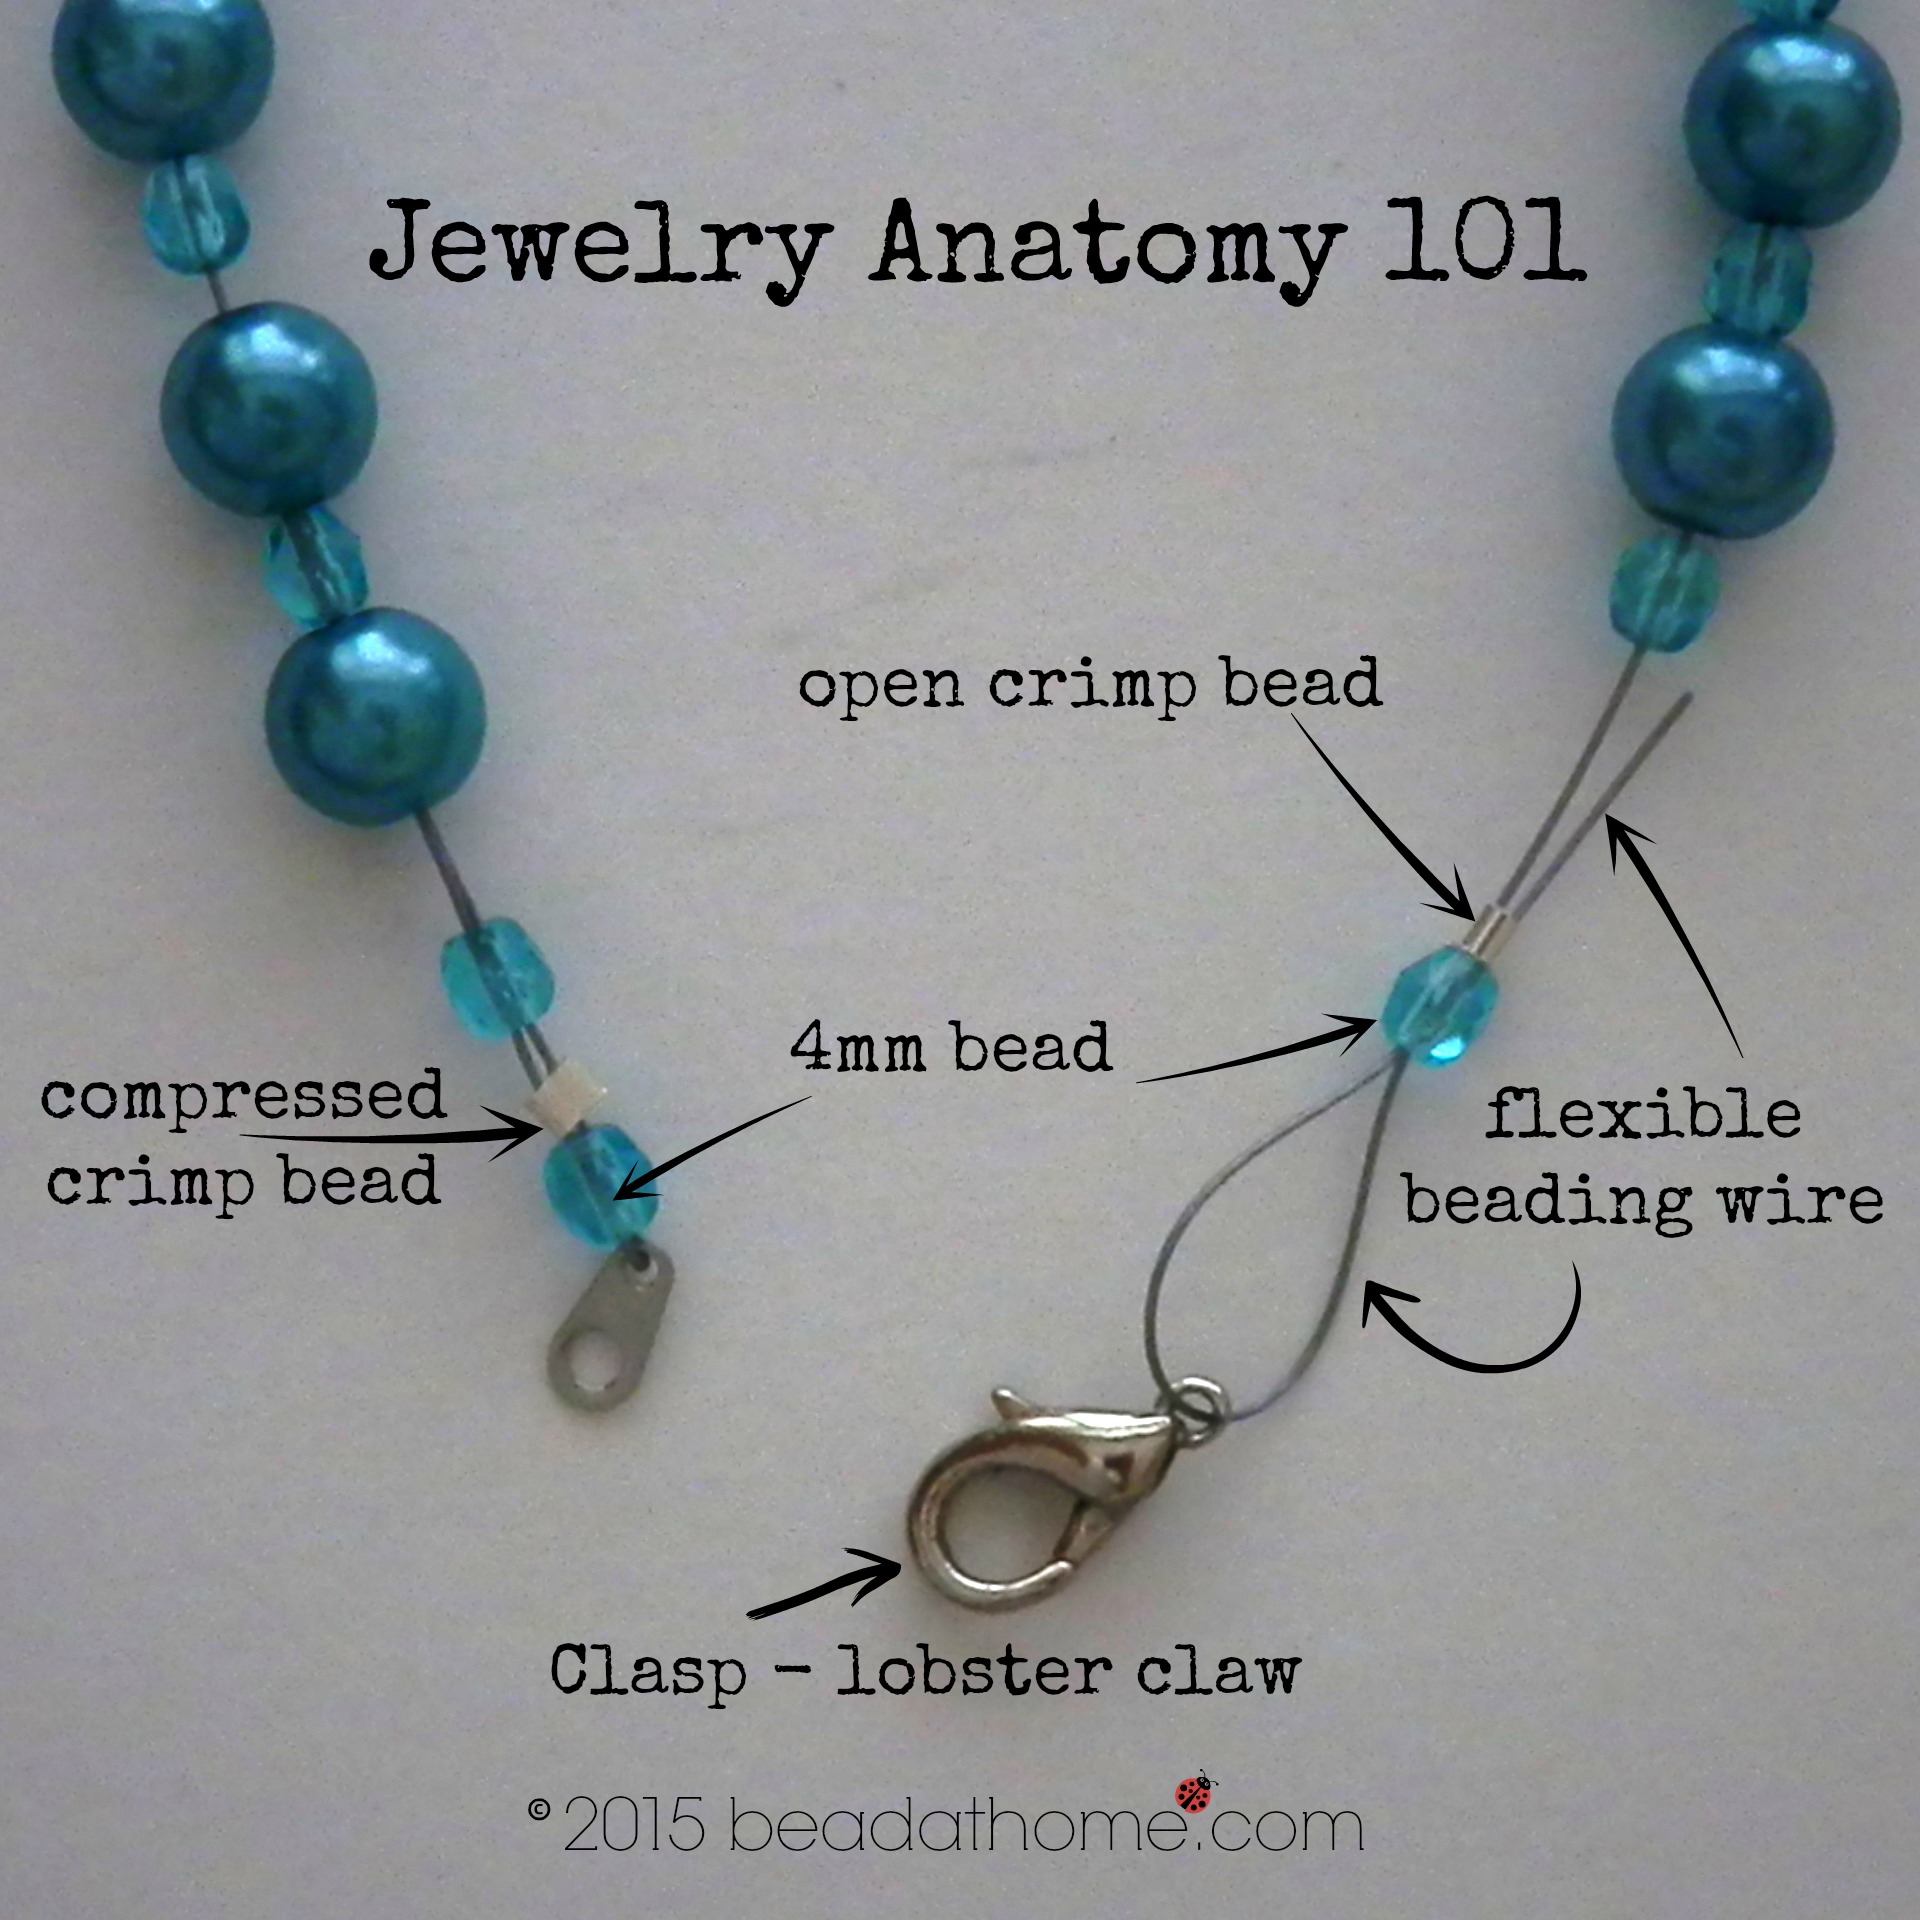
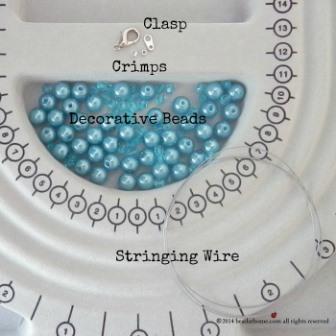
For a basic beaded necklace, we use only 4 'go to' components.
- beading cord
- a clasp
- crimp beads
- small decorative beads
This diagram shows all the components in place as they are used. Actually, this diagram applies to either a beaded necklace, a beaded bracelet and even a beaded anklet. Each are constructed in the same manner, it's just the finished length that's different.
Ok...that's it. Did you find this helpful? Hopefully this little exercise succeeded in showing all the components and how they are used?
Now let's go a little deeper. Let's move on and begin discussing each of the categories we need to cover to work you through your goal of learning how to make a basic beaded necklace.

 |
Talk to us about what you learned here, was it helpful, what were you most surprised by. Share it with us now at Bead Talk. Feel free to speak up. We appreciate your input. |

Available Now at Amazon.com
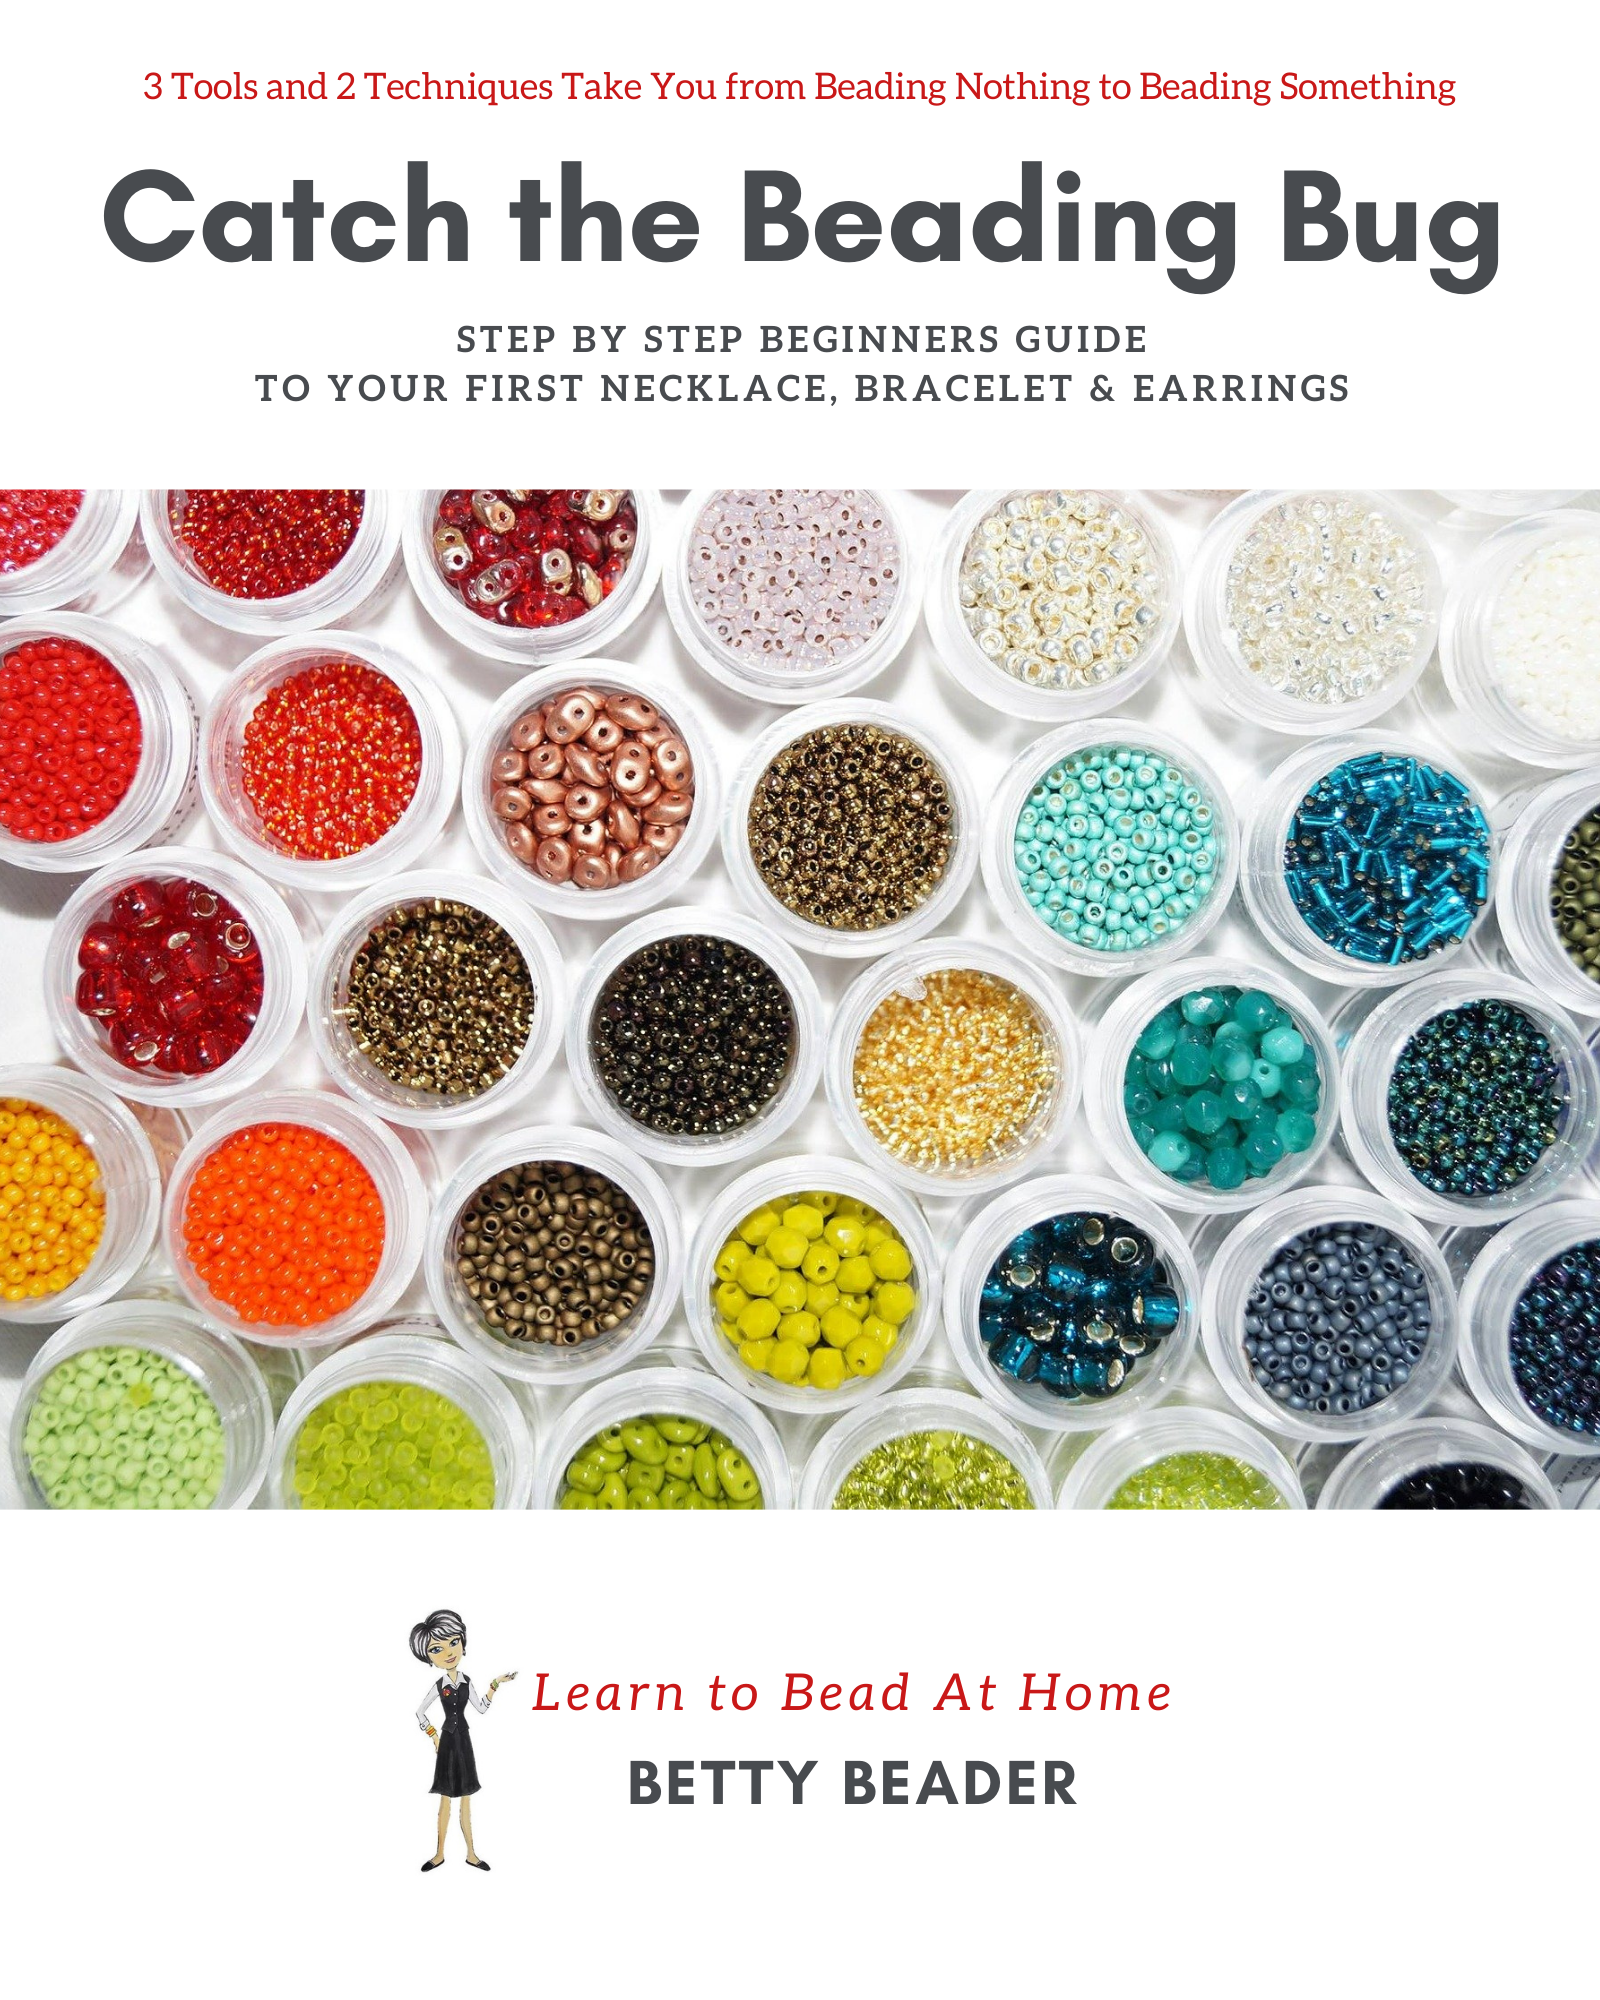
The step by step book that shares a quick path to begin your beading journey.
Use 3 tools and 2 techniques to take you from beading nothing to beading something.
Bead At Home Swag
"My Birthday Rocks!"

This and more available now at Bead At Home Store
Recent Articles
-
Inspire Jewelry Making Ideas
Aug 16, 21 08:46 PM
 Inspire jewelry making ideas with 5 ways from day to day life just by opening your eyes and looking around you.
 -
Scrabble DIY Jewelry
Jul 09, 21 03:33 PM
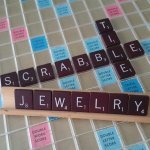 Scrabble DIY Jewelry celebrates Scrabble Day April 13 with easy to make jewelry.
 -
What is Beading?
Jun 23, 21 02:13 PM
 What is beading? Learn and understand different aspects to beading to narrow your search for what you want to learn.
Jewelry Making Classes Online

- Home
- basic necklace
- Home
- basic necklace
This site contains affiliate links to help keep our community free to you. Bead At Home and Beading Jewelry 101 may earn revenue based on affiliate relationships and advertisements with partners including, Amazon, eBay and Google. There is no additional cost to you and it helps us continue to offer this content free to our community. Thank you for your consideration in supporting our efforts.
Copyright© - Bead At Home / Beading Jewelry 101 - All Rights Reserved