Basic Earring Beading Tutorial
In this step-by-step basic earring beading tutorial, you will learn the easy steps of how to make a single plain loop for beginners. Our project will be earrings.
We start this journey learning to create the single or plain loop using headpins as your main finding. You will be creating various projects and accessories in no time.
In this specific example, we will make earrings. Keep in mind that this particular technique is used to create much more than shown here as we work through the process. Let's first learn to make a dangle. If you are ready to begin, let's take the earring supplies and jewelers' tools and get you moving forward in your jewelry making journey.
Basic Earring Beading Tutorial
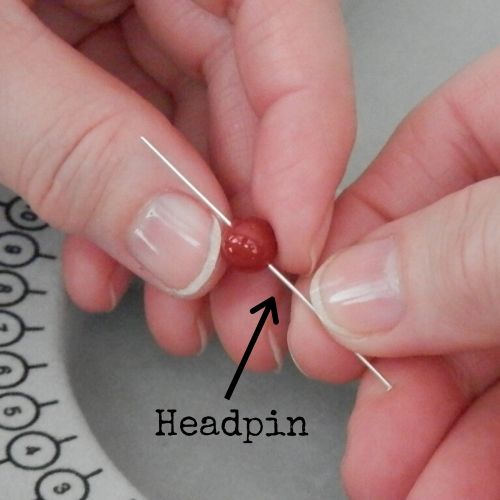
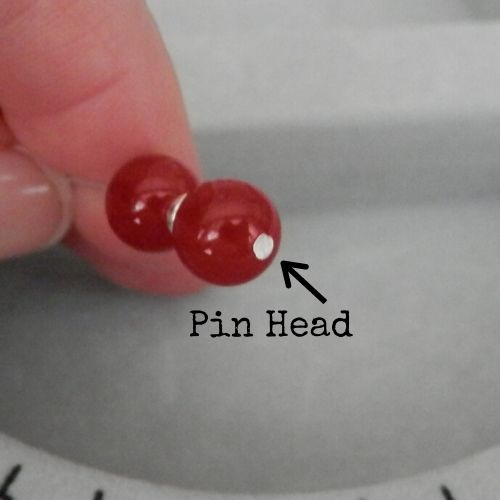
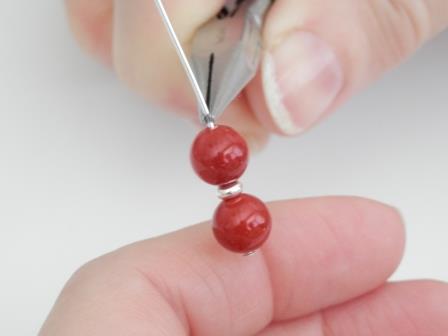
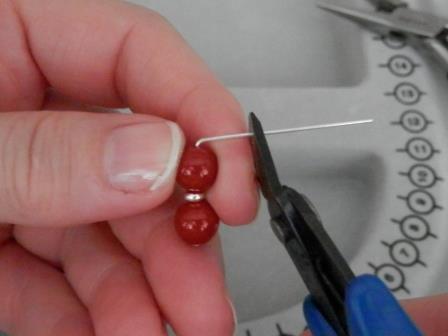
Step 1: String Beads onto Head Pin
Begin by stringing the desired pattern of beads onto the pin. Ensure the bead's hole is large enough to slide onto the headpin but not too large that the bead will slide entirely off the pin.
Beading Tip:
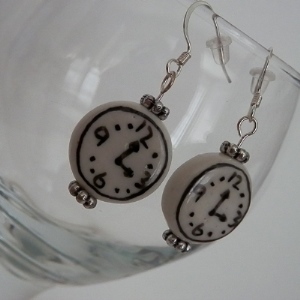
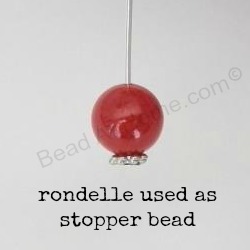
If the bead's hole is too large, begin with a smaller bead like a seed bead, 4 mm round bead, or a flat rondelle bead. This serves two purposes;
- Keep the bead from sliding off.
- Provides additional decorative style.
As shown in this example.

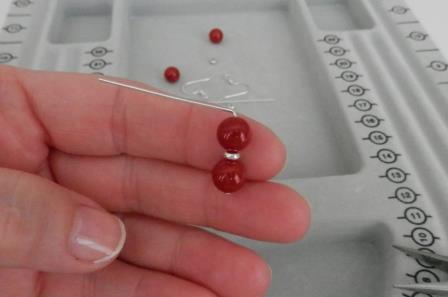
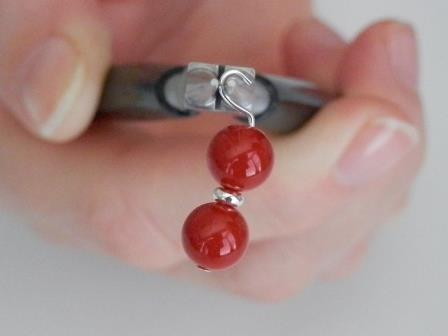
Step 2: Create a Right Angle
Once you are satisfied with your beaded pattern, press firmly on the headpin just above the top bead with your chain nose pliers. Bend the wire to create a right angle.
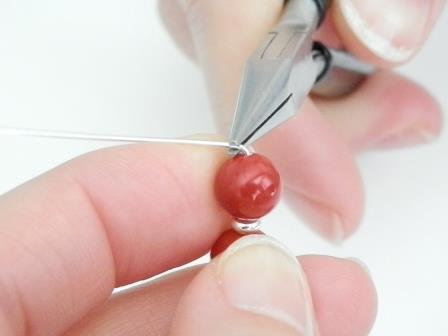
...it should look like this.
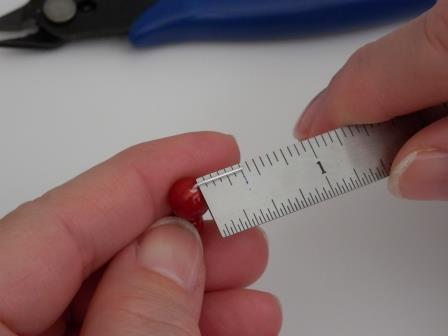
Step 3: Trim Wire to 3/8"
Using the wire cutters, trim wire down to 3/8". Please be careful in this step. The wire being cut will become air-born so take precautions for yourself or anyone around you while you are cutting wire.
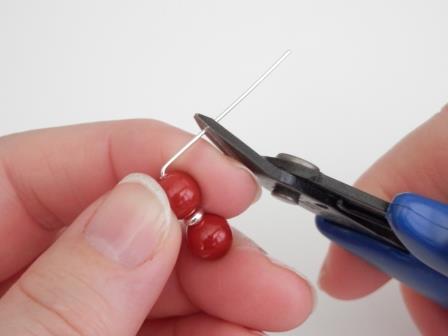

Beading Tip:
Here is a tip to get a good 3/8" measurement.
Hold the flush side of the wire cutter to your first finger's nail, as shown above and below, do not angle the tool. Hold it straight flush using your nail as a guide.
You will get very close to 3/8" every time.
Please Exercise Caution When Using Wire cutters!
- The wire cutters are sharp and will cut flesh.
- Use Safety Glasses. [it says so on the tool]
- The wire cut off will become air born.
[We share from personal experience either or from someone attending a class. Safety first keeps this fun and productive. Thank you for your attention to this detail.] This has been a public service announcement. Now back to our regular programming.
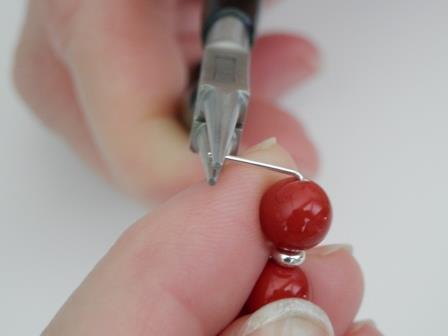
Step 4: Create the Loop
Using the round nose pliers, grip the wire between the jaws. Rotate the wire back in the opposite direction. Continue rotation forming the wire into a circle. Rotation is complete once the end can't go any further, forming a full round circled loop.
Grip the Wire
Begin Rotation
Continue Rotation
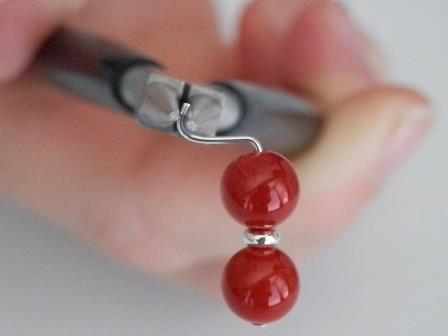
Form a Full Round Circle
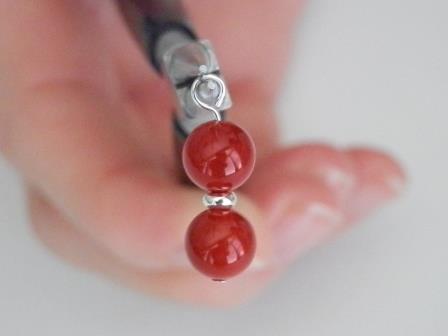
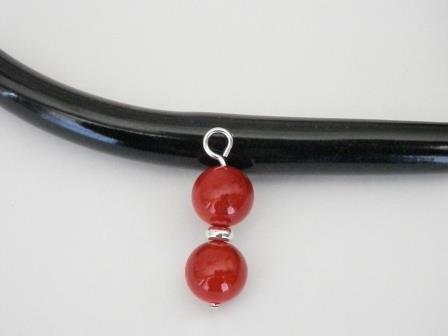
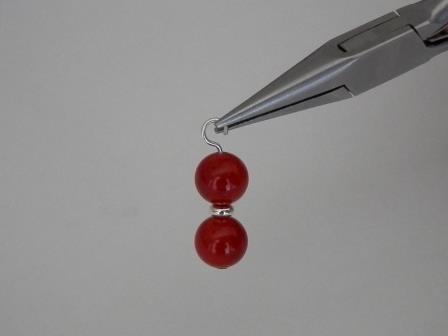
You may have to release the pliers and rotate for hand comfort to complete the full circle. Now you have a completed dangle with a single plain loop. It should resemble a lollipop. The dangle is now ready to receive the earring finding.
|
|
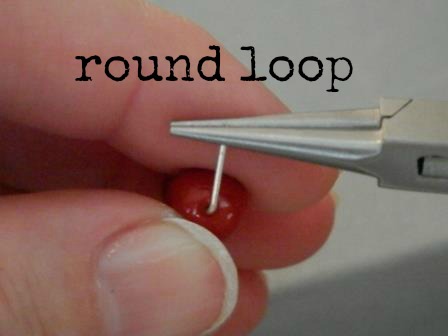
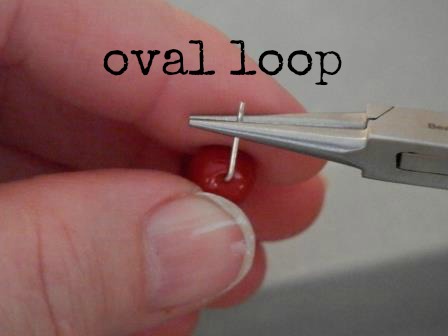
Beading Tip: Round Loop: Place the cut end of the wire flush to side of pliers. Oval Loop: Place the cut end of the wire outside the round nose pliers. See examples. |
Step 5: Attach Earring Wire Finding
Using the chain-nose pliers again, open the loop by rotating it up.
Using a fish hook earring wire, slide onto the opened loop.
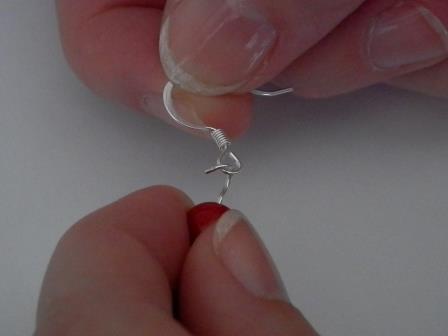
Use the chain nose pliers to close the loop rotating it back down.
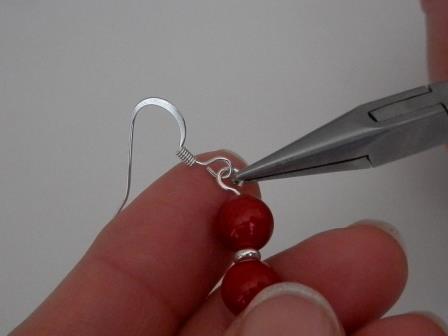
Your project is finished! You made your first earring!
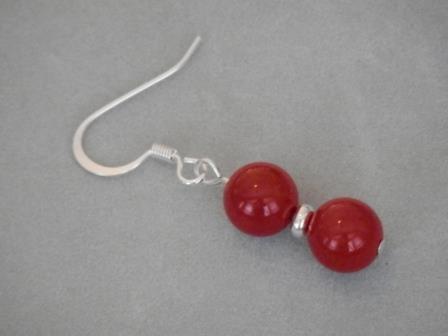
Admire a job well done!
Step 6: Complete the Pair
Repeat steps 1 through 5 in this basic earring beading tutorial to make another earring and complete the pair. Practice makes perfect or at least to feel more comfortable.

 |
|
In this basic earring beading tutorial, you have seen an illustration from someone who has been creating these single loops for several years.
Ours did not start out like this.
We'll share a secret just between us. We had a hard time getting comfortable making these loops. We didn't like it in the beginning. We got so discouraged that we had actually resolved not to try to teach this technique. The motion was awkward, and finding the sweet spot took lots and lots [and did we say lots] of practice.
Now? With lots of practice, it has become a favorite technique.
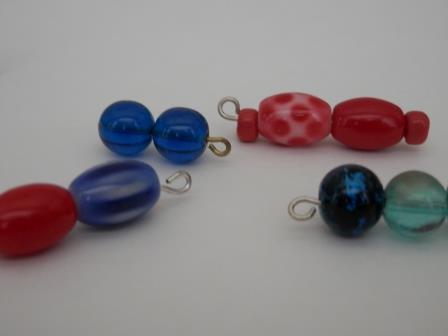
Your first few attempts at making a single plain round loop may look similar to some of these examples. But don't let it discourage you. You may get it right away, or it may take you lots of practice as well. Through trial and error and continued practice, you will reach your comfort zone finding your sweet spot. We encourage you to keep trying.
Before we send you on, let's share a few more beading tips to consider as you begin or continue to practice mastering this basic earring beading tutorial.
More Beading Tips:
Beading Tip:
A visual secret to keep in mind to help is that you are trying to create the look of a lollipop. The circle needs to stand up vs. laying on its side.
Beading Tip:
Purchase extra headpins on hand so you can practice creating loops in the basic earring beading tutorial. We recommend this bulk package of base metal silver head pins approximately 3 inches in length and a gauge of 21.
Beading Tip:
Practice make perfect...lots and lots of practice.
Beading Tip:
When practicing creating loops, make sure to have at least 2 or more beads on the pin. It will make it easier to hold the pin in your hand.
Beading Tip:
Get a feel for making circles wrapping wire around the nose of your round nose pliers. Hold the wire with round nose pliers and just curl the wire around the nose of the pliers making a continuous circle.
These don't have to be pretty. Practice getting accustomed to the motion.
Do You Have a Tip to Share?
This basic earring beading tutorial is not the 'be-all, end-all' instructions for making loops. There are a few variations. Share a tip with us that you would add to the basic earring beading tutorial if you have one. We all benefit from learning from each other.

Where to Go From Here?
If you worked through this project and completed your basic earring beading tutorial, congratulations on working through the task of learning the basics to beading!
Where do you go from here?...
Learn a new technique or learn about more beading supplies.
Have you completed the basic necklace beading tutorial?
Have you completed the basic bracelet beading tutorial?
Have you read about beading designs?
These are a few options to move onto, or look through the navigation bar and see what else may interest you. Share a comment below and let us know how you did in your process.
Either way, move forward in your journey of learning how to bead and...

Available Now at Amazon.com
The step by step book that shares a quick path to begin your beading journey.
Use 3 tools and 2 techniques to take you from beading nothing to beading something.
Bead At Home Swag
"My Birthday Rocks!"

This and more available now at Bead At Home Store
Recent Articles
-
Inspire Jewelry Making Ideas
Aug 16, 21 08:46 PM
 Inspire jewelry making ideas with 5 ways from day to day life just by opening your eyes and looking around you.
 -
Scrabble DIY Jewelry
Jul 09, 21 03:33 PM
 Scrabble DIY Jewelry celebrates Scrabble Day April 13 with easy to make jewelry.
 -
What is Beading?
Jun 23, 21 02:13 PM
 What is beading? Learn and understand different aspects to beading to narrow your search for what you want to learn.
Jewelry Making Classes Online

- Home
- My 1st Earrings
- basic earring findings
- Basic Earring Beading Tutorial
This site contains affiliate links to help keep our community free to you. Bead At Home and Beading Jewelry 101 may earn revenue based on affiliate relationships and advertisements with partners including, Amazon, eBay and Google. There is no additional cost to you and it helps us continue to offer this content free to our community. Thank you for your consideration in supporting our efforts.
Copyright© - Bead At Home / Beading Jewelry 101 - All Rights Reserved