Basic Necklace Supplies
Have you wondered what basic necklace supplies are needed to make a simple necklace strand. We will discuss that here. These will be your minimal required supplies needed to create your first piece using the crimping technique for necklaces.
The very basic supplies needed to assemble any piece of jewelry fit into two different categories and that is what we will unveil and discuss on this page.
Our two categories and topics will be
- Beads
- Findings
If you are ready then let's dig into it and see what goodies await you.
Beads are a common topic. We'll touch on it in a moment.
Findings, however, may not be familiar to you. They are a variety of components used in all jewelry projects to either complete or compliment the jewelry.
You can not make a single piece of jewelry without using some type of finding. It is a vast topic and one that you will evolve into. For now we will only focus on the basics to successfully complete this specific project.

Beading Tip:
The basic necklace supplies are also the same supplies we will be using to make our basic bracelet as well.
See 'My First Bracelet'.
For this particular project we do not list specific amounts, your basic necklace supplies will be determined based on the length you will choose for your particular piece of jewelry as you will see in the tutorial section of this lesson.
Here is a chart that provides approximates in basic necklace supplies that is based on the length of your necklace and the size bead you will be using. Take a quick look to get a feel for the amount needed.
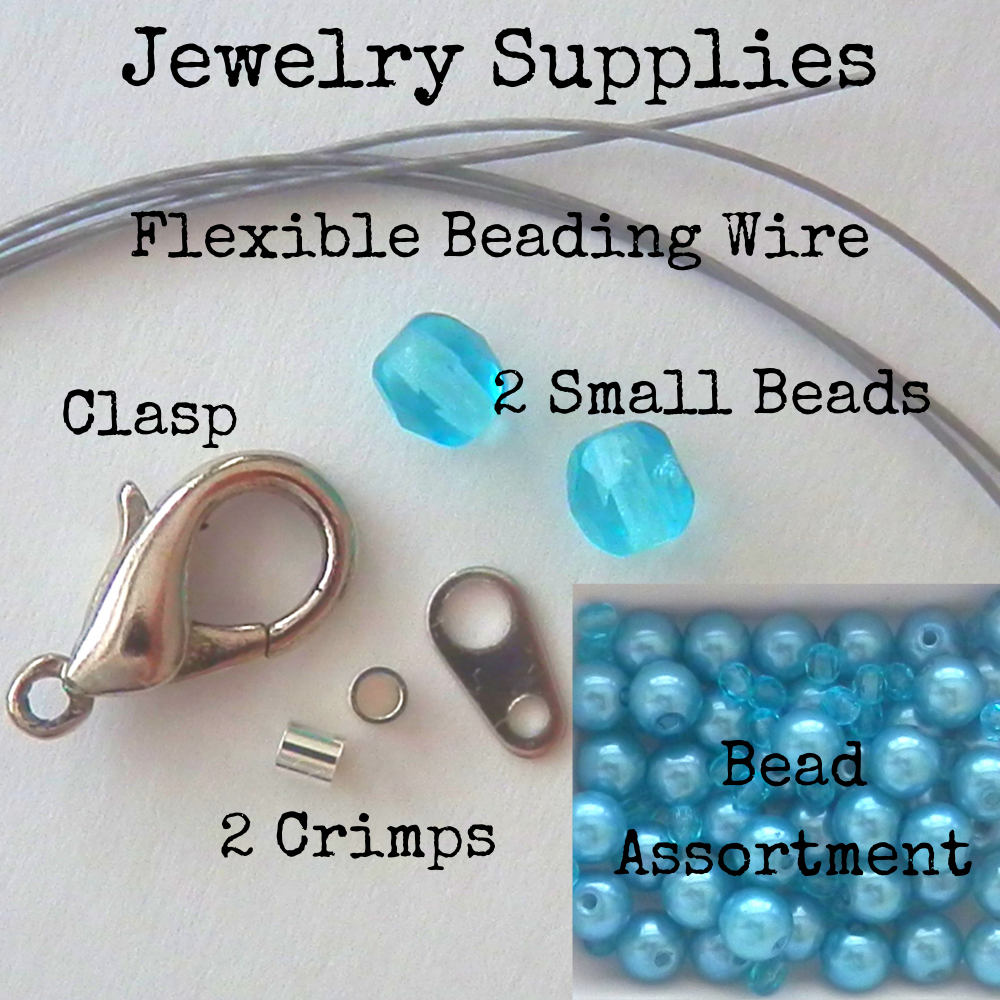
Pictured is the diagram of the basic necklace supplies needed for our project.
- decorative beads
- beading wire
- clasp
- crimp beads plus small beads
Refer to this diagram showing how each component is used. Let's look at each component, exploring what each one is and how they are used.
Don't forget to visit the beading terminology page if you need a bit more insight on any new or unfamiliar words you may be learning for the first time.
It's there to help.
Basic Necklace Supplies
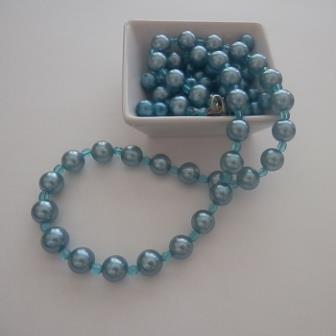
From the list of supplies let's begin with the most obvious component to the jewelry...the decorative beads.
Beads
- Beads are the eye candy for all your jewelry projects.

Beads come in various shapes, sizes, colors, textures, materials, and the list goes on. It would be too much if we covered it all right here.
The basics to beads are the place to discuss this. We delve into an introduction of beads, and it's a quick read. Then come back to this spot, and finish working through our process.
Earrings and accessories are great ways to use up odds and ends of beads leftover from larger projects that are now growing your bead stash.
Skip on over and read the general overview to give you a feel for the assortment and variety that awaits you when selecting beads for your earring and accessories projects.
In Conclusion
The selection of findings can seem overwhelming and endless. If you start with these basic supplies listed here, you will be fine for your first beginner projects. As you progress through and start moving beyond the basics, more and more findings will be introduced, discussed, and examples provided for your convenience.
If you take this process, you will be ready as long as you do not jump too far ahead. There is a reason for this specific step-by-step.
There is time to learn about all the basic earring findings plus so much more, but in their own time, as each new project is introduced. So keep moving forward with me. We're getting there.
Next let's move on to the findings needed for the basic necklace supplies.
Beading Wire
- Beading Wire is the strand, the thread, the wire, that the beads will be strung onto for necklaces and for bracelets.
As stated previously, the beads are strung onto a stringing material and there are a variety of stringing materials.
Different types of stringing materials may be soft flexible stringing wire, nylon cord, elastic, leather and a wide variety of threads.
These stringing materials are all flexible allowing your jewelry to flow and move with you.
But we are not going to talk about all of the different varieties yet.
We need to talk about the 'one' stringing material we recommend to be with.
A soft flexible beading wire, read more here. The flexibility of a good stringing beading wire is soft enough that there are many uses. Beading wire comes in an assortment of diameters and the thinner beading wire can even be used to weave jewelry as well.
But let's not get ahead of ourselves. There is much to learn so let's just focus on this one specific component.
It is important to become familiar with your materials as you progress beyond the basics to make sure you are getting decent quality.
Not all materials are created equal.
You can run into cheap low grade materials as well as the high end top of the line quality products.
The grade of materials is not always based on price.

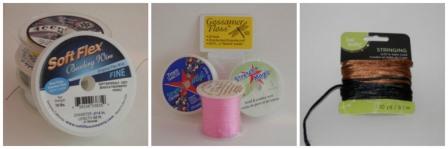
We start all beginners with a specific beading wire called 'Soft Flex Beading Wire'.
Soft Flex is a nice professional grade wire that, we feel, is moderately priced for the quality. It will cost a bit more than a lower grade wire but not as high as others. Its a good quality for middle of the road pricing.
Why do we suggest that?
This particular brand wears well, resist kinking and will last a very long time.
We did not start with this brand since we were like you and didn't have a clue in the beginning. Once we connected with other jewelry makers this was the recommended flexible beading wire. We rarely use anything else since now. Read more on this wondrous finding. Promise to come back to this point of your learning.
Now that we have shared that treasured secret with you let's move onto the next finding needed for the basic necklace supplies list...
Clasp
- Clasp is a finding, a component, a device for fastening together two or more things.
By definition a clasp is a firm grasp or grip, a tight embrace. A clasp is used to open and close jewelry vs. a slide on style approach and can be incorporated into the design of the jewelry based on the style of the clasp. Here are a few of the most common variety of clasp you will encounter.
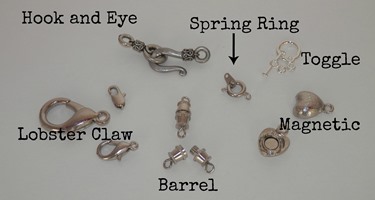
Again variety is available in style, design, colors and how a clasp operates. You will hear me repeat this particular phrase quite often.
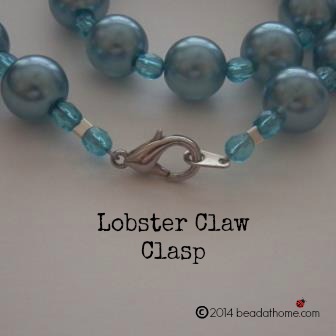
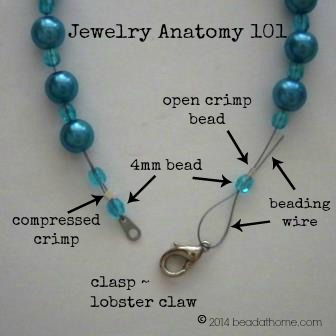
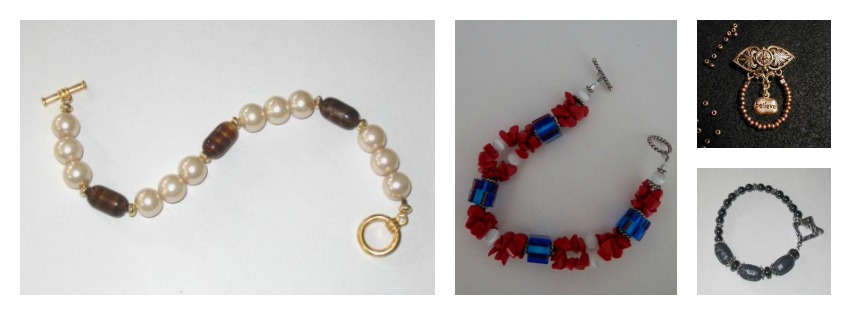
In our project we are using the small lobster claw clasp.
When we create our bracelet we will be using a 'toggle' clasp.
Up to this point we have touched on the findings that the beads are strung on and what opens and closes the jewelry, now we need to talk about the secret ingredient, the finding, that holds it all together.
The next and final finding on the list of basic necklace supplies is the...
Crimp Bead
- Crimp Bead is a pliable metal bead and is intended to be compressed to achieve it's purpose and serve it's function.
Crimp beads are the most important component to either a necklace or bracelet for this type of closing method called 'crimping'.
Some methods call for knotting your stringing material but here we are crimping our stringing material; compressing a pliable crimp bead to hold everything together.
Here is an up close and personal view of the crimp bead we'll be using in our project.
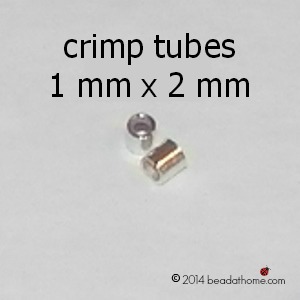
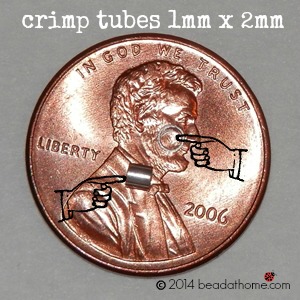
Take a look at this example below for comparison to size. You see how small it is in comparison to the penny demonstrating how tiny this pliable bead is. They do come smaller.
Crimp beads play a very important role in jewelry making.
It is the glue [figuratively speaking] that keeps the beads from falling off the beading wire.
It is what holds the clasp to the beading wire that's holding the beads in place.
It is the 'secret' to the secret sauce of the crimping technique.

Side Note:
We have a tendency of being rather enthusiastic about this little hidden gem that does such a BIG job that sometimes we tend to go overboard. We'll try to control our excitement...teehee!
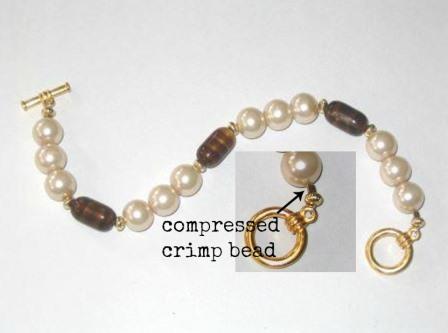
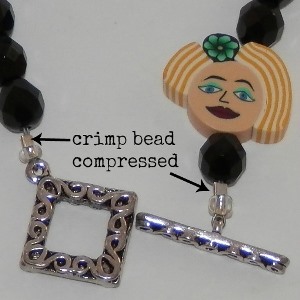
Here are two more examples to help emphasize the importance.
And just like all the other components we have spoken of, there is a selection of crimps to choose. Colors, sizes, styles, as well as different functions that crimp beads perform.
If you can't tell, this is actually one of our favorite topics and we talk more about crimps, the varieties and the different functions as you progress with other project tutorials.
It's gonna be fun!
For now let's continue to focus on the basics. We are getting rather excited to get to our necklace project so you can see how all of this fits together.
Remember...
This selection of basic necklace supplies, talking about findings can seem rather endless and overwhelming at times. It's important to remember this is the basics for any beginner and it's a start for your jewelry making journey.
Let's keep this as simplistic as possible as you progress through and start moving beyond the basics. More findings will be introduced, discussed and examples provided.
Lots more projects lay ahead that will incorporate these same basic jewelry making supplies and will reinforce what you are learning here.
For now, keep this in stride and move at your pace.

What To Do Next?
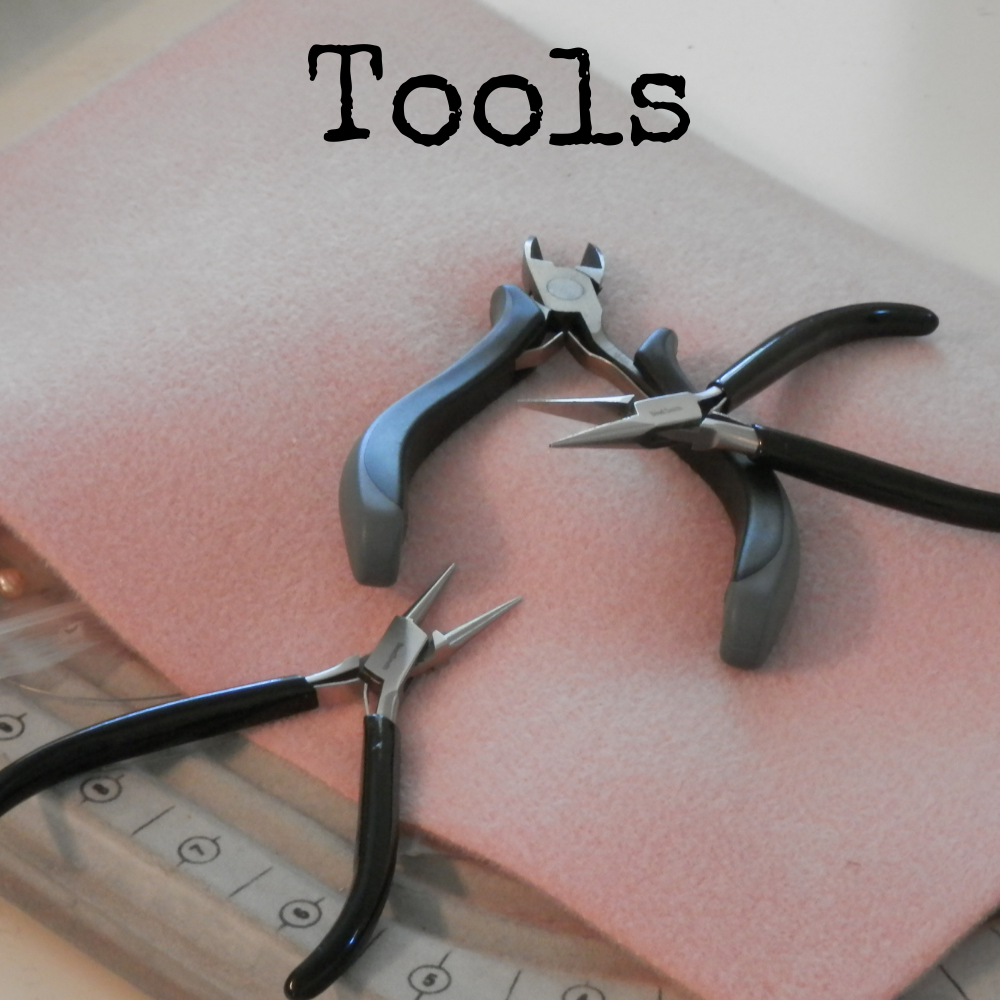
Make sure you have covered jewelry anatomy 101 and basic tools. The only other area is the make sure you read basics to beads.
That should round out our introduction to the basic necklace.
If you have completed all of this then the next step is to move onto 'My 1st Beaded Necklace Tutorial'.
Don't be concerned if you have not gotten all your basic necklace supplies and tools together, go ahead and peek how simple this process will be. You will probably want to look through it one or more times before you actually begin your project.
But once you have all your supplies then feel free to try your very first project...a necklace.
We invite you to share your completed projects with us as we gather for more Bead Talk. We look forward to seeing more from you.
Next Up...


Available Now at Amazon.com
The step by step book that shares a quick path to begin your beading journey.
Use 3 tools and 2 techniques to take you from beading nothing to beading something.
Bead At Home Swag
"My Birthday Rocks!"
This and more available now at Bead At Home Store
Recent Articles
-
Inspire Jewelry Making Ideas
Aug 16, 21 08:46 PM
 Inspire jewelry making ideas with 5 ways from day to day life just by opening your eyes and looking around you.
 -
Scrabble DIY Jewelry
Jul 09, 21 03:33 PM
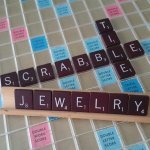 Scrabble DIY Jewelry celebrates Scrabble Day April 13 with easy to make jewelry.
 -
What is Beading?
Jun 23, 21 02:13 PM
 What is beading? Learn and understand different aspects to beading to narrow your search for what you want to learn.
Jewelry Making Classes Online

- Home
- basic necklace
- Basic Necklace Supplies
This site contains affiliate links to help keep our community free to you. Bead At Home and Beading Jewelry 101 may earn revenue based on affiliate relationships and advertisements with partners including, Amazon, eBay and Google. There is no additional cost to you and it helps us continue to offer this content free to our community. Thank you for your consideration in supporting our efforts.
Copyright© - Bead At Home / Beading Jewelry 101 - All Rights Reserved